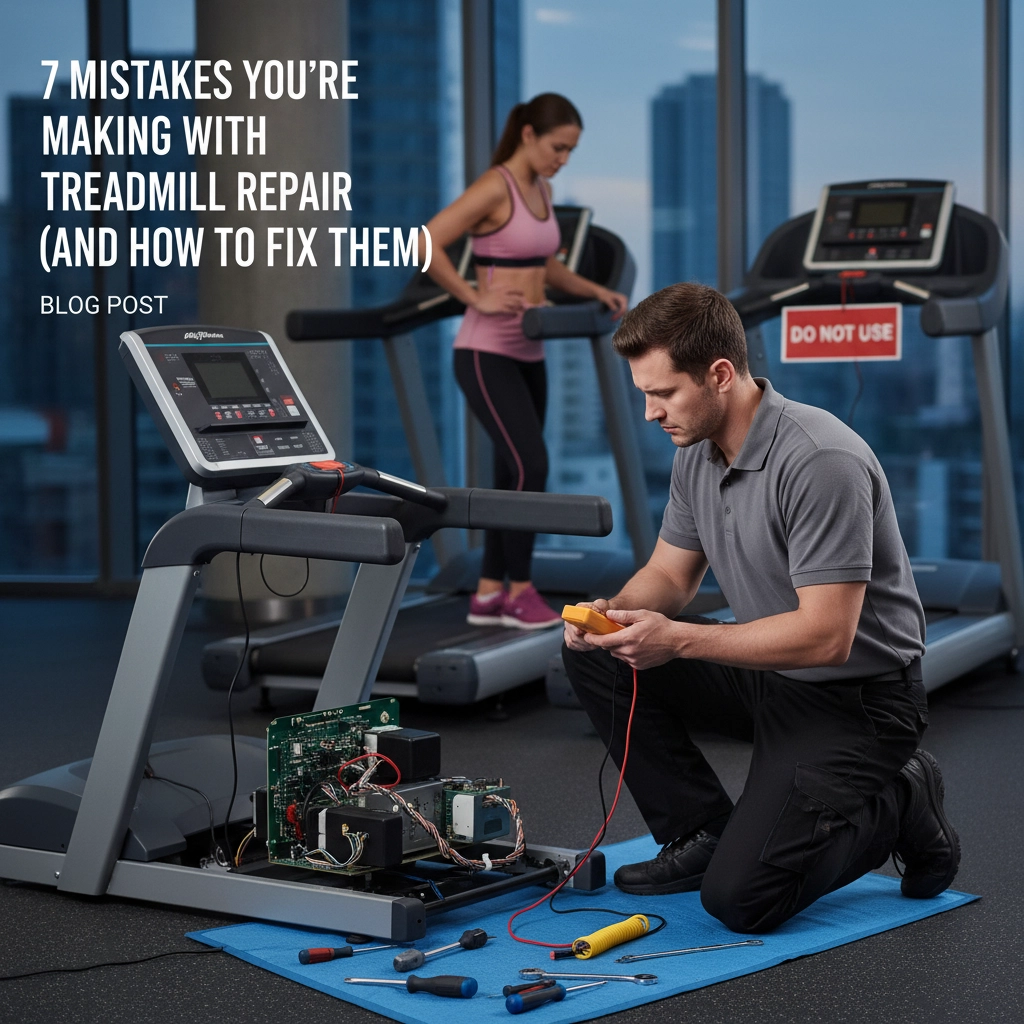
Your treadmill is more than just a piece of equipment: it’s your pathway to better health, your stress reliever after long days, and your faithful companion on the journey to fitness. But when it starts acting up, the urge to grab some tools and dive into a DIY repair can be overwhelming.
Here’s the thing: most treadmill “repairs” that go wrong aren’t due to lack of skill or determination. They happen because people make the same preventable mistakes over and over again. The good news? Once you know what these mistakes are, you can avoid them completely and keep your treadmill running like a dream.
Let’s dive into the seven most common treadmill repair mistakes that could be costing you time, money, and potentially putting you in danger.
Mistake #1: Using the Wrong Lubricant (The Aerosol Trap)
What You’re Doing Wrong
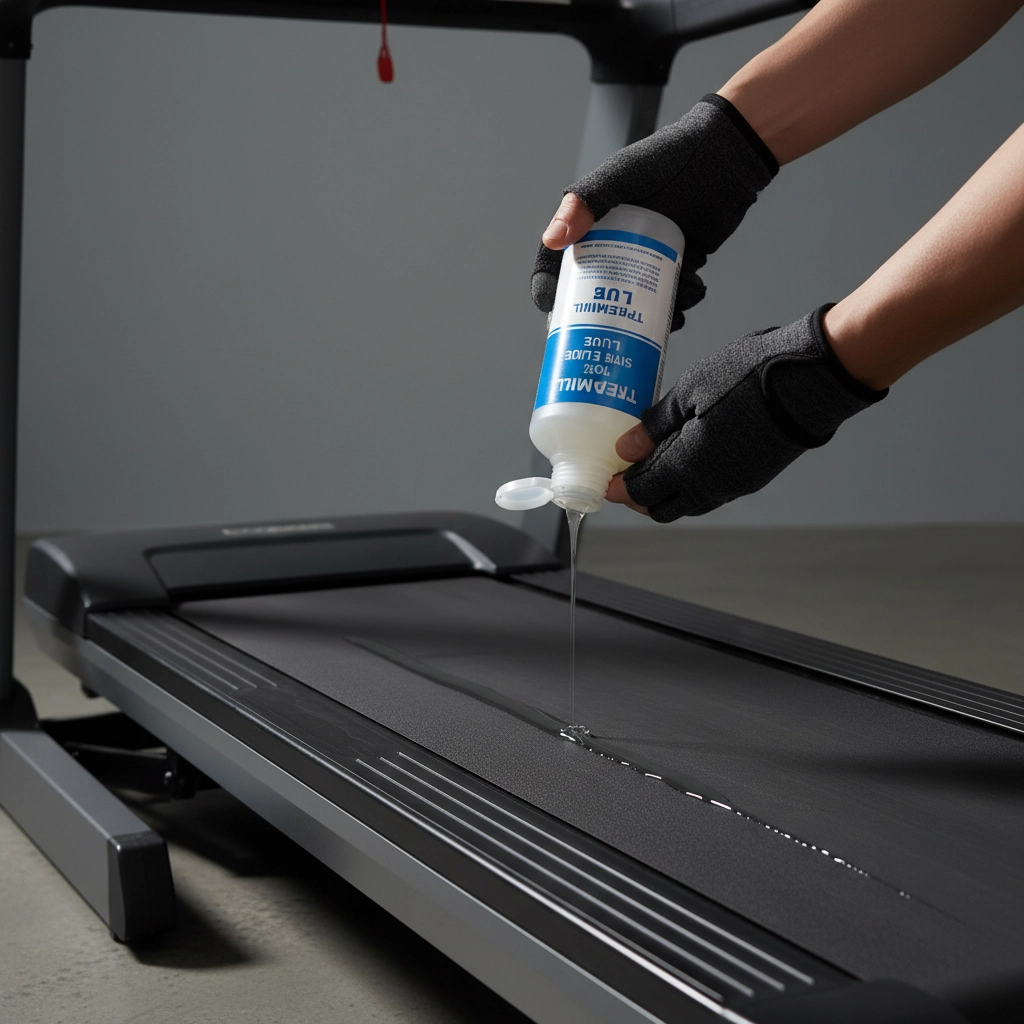
You hear that squeaky belt and think, “I’ve got some WD-40 in the garage: problem solved!” But here’s where things go sideways fast. Aerosol spray lubricants might seem like a quick fix, but they’re actually your treadmill’s worst enemy.
These sprays contain additives and propellants that break down rubber and plastic components over time. What starts as a simple squeak can turn into a completely destroyed belt that needs full replacement.
The Right Way to Do It
Invest in 100% silicone lubricant specifically designed for treadmills. It comes in a bottle (not a spray can) and creates a stable, protective layer between your belt and deck. Apply it according to your manufacturer’s instructions: usually just a few drops under the belt every few months.
Your treadmill will thank you with years of smooth, quiet operation.
Mistake #2: The Motor Control Board Cover-Up
What You’re Doing Wrong
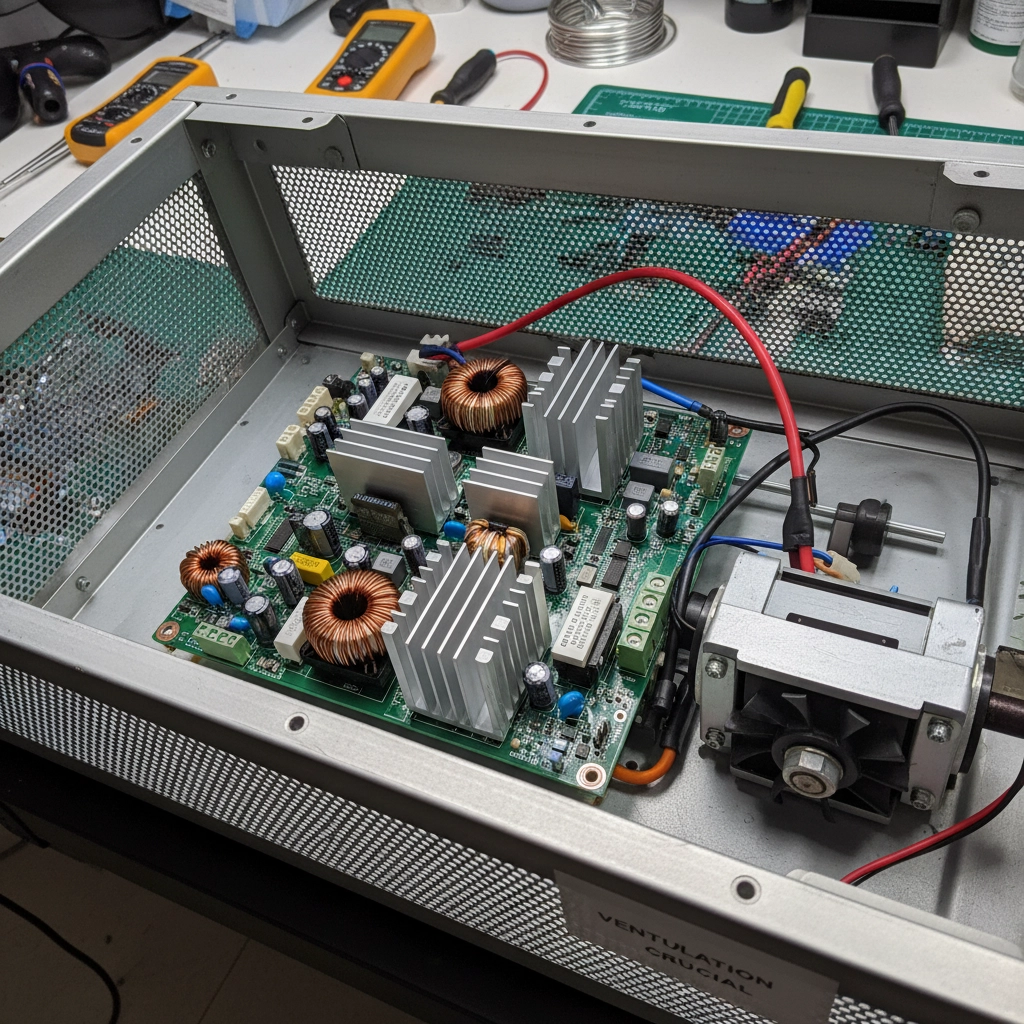
When you peek inside your treadmill’s motor compartment, that exposed circuit board might make you nervous. Your instinct says, “I should protect this expensive-looking thing with some plastic wrap or a towel.”
Don’t do it.
Covering the motor control board is like putting a winter coat on your computer: it traps heat, creates moisture buildup, and can cause catastrophic electrical failures. Plastic can melt onto components, and static electricity buildup can fry circuits instantly.
The Right Way to Do It
Leave that control board completely exposed to air. It’s designed to operate that way. Instead of covering it, focus on keeping the entire motor compartment clean and free from dust and debris. A gentle vacuum or compressed air (from a distance) works perfectly for regular cleaning.
Mistake #3: Working on a “Live” Machine
What You’re Doing Wrong
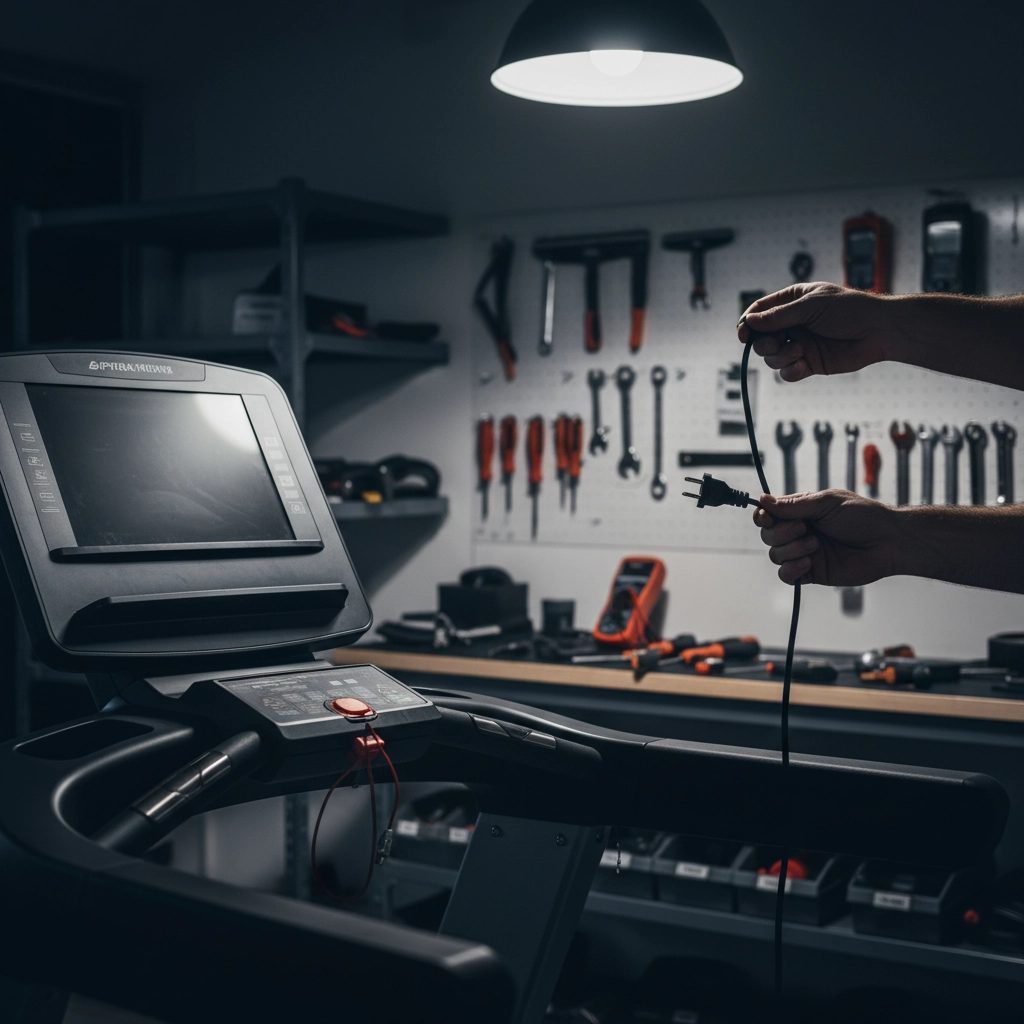
This one’s a biggie: and unfortunately way too common. You figure the treadmill isn’t running, so it’s safe to poke around inside, right? Wrong.
As long as your treadmill is plugged in, electricity is flowing through those circuits. That innocent-looking LED on the control board? It’s telling you the machine is energized and ready to deliver a serious shock or cause equipment damage from accidental short circuits.
The Right Way to Do It
Always: and we mean always: unplug your treadmill before doing any maintenance or repair work. Treat it like you would a toaster or any other electrical appliance. No exceptions, no shortcuts.
This simple step protects both you and your expensive equipment from disaster.
Mistake #4: Wearing the Wrong Gear
What You’re Doing Wrong
You’re ready to tackle that repair, and you’ve got your work lanyard around your neck, maybe some loose sleeves, and your favorite dangling jewelry. Seems harmless enough when you’re working on a “stationary” piece of equipment.
Here’s the reality: treadmills have multiple moving parts, pulleys, and belts. Anything loose can get caught, leading to serious injury or equipment damage. We’ve seen lanyards create choking hazards and loose clothing cause people to get pulled into moving mechanisms.
The Right Way to Do It
Before starting any treadmill work:
- Remove all jewelry, lanyards, and loose accessories
- Wear fitted clothing or tuck in loose items
- Tie back long hair
- Remove anything that could get caught in moving parts
Think of it as prepping for surgery: you want nothing that could interfere with safe, precise work.
Mistake #5: Skipping the Detective Work
What You’re Doing Wrong
You hear a problem and immediately start taking things apart or adjusting components without really understanding what’s happening. It’s like trying to fix a car engine without looking under the hood first.
This scattered approach leads to fixing the wrong things, creating new problems, or missing simple solutions that could save you hours of work.
The Right Way to Do It
Start every repair with a thorough visual inspection:
- Look for obvious damage like cracked belts or loose bolts
- Check for unusual wear patterns
- Listen to different sounds the machine makes
- Feel for vibrations or wobbling during operation
- Note any error codes or unusual display messages
This detective work often reveals the real problem and guides you toward the most effective solution.
Mistake #6: The Belt Tension Disaster
What You’re Doing Wrong
Your belt is slipping, so you grab that adjustment bolt and crank it tight. Tighter must be better, right? This approach can stretch your belt beyond repair, damage bearings, and put unnecessary strain on the entire drive system.
On the flip side, many people ignore belt tension completely until major slipping occurs, missing the chance for easy preventive maintenance.
The Right Way to Do It
Belt tensioning is an art, not a wrestling match:
- Make sure your treadmill is level before starting
- Turn the adjustment bolt only ¼ turn at a time
- Let the belt settle for 2 minutes between adjustments
- Test the tension: you should be able to lift the belt about 2-3 inches in the center
- If it still slips after proper tensioning, the issue might be the internal drive belt (time to call professionals)
Regular tension checks prevent most belt-related problems before they start.
Mistake #7: Playing Ignore-the-Error-Code
What You’re Doing Wrong
Your treadmill starts flashing E1, E2, or some other cryptic code, and you think, “I’ll just work around it. It’s probably nothing serious.”
Error codes aren’t suggestions: they’re your treadmill’s way of screaming for help. Ignoring them is like ignoring your car’s check engine light. Small problems become expensive disasters.
The Right Way to Do It
Treat every error code as urgent:
- Consult your owner’s manual immediately to understand what the code means
- Address the underlying issue, don’t just reset the display
- Keep a log of recurring codes to identify patterns
- Don’t use the machine until the problem is resolved
Remember, addressing error codes early can save you from major repairs or complete equipment replacement down the road.
Your Treadmill’s Future Depends on Today’s Choices
Here at HeartBeat Fitness Repair, we see the aftermath of these mistakes every day. The good news? Now that you know what they are, you can avoid them completely.
Your treadmill isn’t just a machine: it’s an investment in your health, your family’s fitness, and your quality of life. By avoiding these seven common mistakes, you’re not just preventing problems; you’re ensuring that your fitness journey continues uninterrupted.
Sometimes the best repair is the one you never have to make. But when professional help is needed, don’t hesitate to reach out to experts who can get your equipment back to peak performance safely and efficiently.
Your future self will thank you for taking care of your treadmill today.


Leave a comment